Get ideas & inspirations delivered to your inbox. You won't want to miss a thing, so subscribe free to the Blog Feed or sign up for Free Email Updates on the latest projects, shop news, blog tutorials & more. Check out the Project Gallery, Garden, Recipes & Inspirations tabs above, to see what you have missed. Browse through the sidebar for this week's Popular Posts!
**Please note: Some links may be broken, if this happens, please let me know which post & search for the title of a post on the search tab on the right while I work on fixing the problem.---->

DaySpring Christmas Favorites

(Disclaimer)* This post may contain affiliate links and I may be compensated if a purchase is made by clicking my links. 
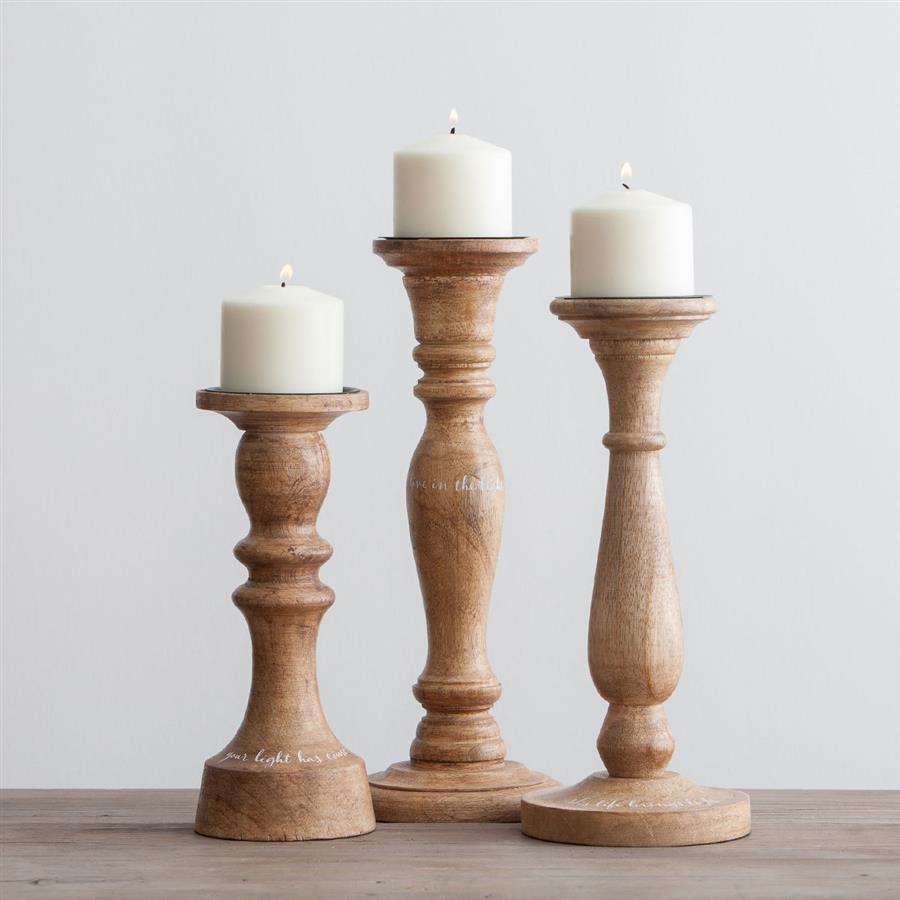
Everlasting Light - Wooden Candlestick Holders, Set of 3
I don't know about you, but everything is moving around so fast these days.
I mean, it was Halloween just the other day and now we're having Thanksgiving
dinner on Thursday and then Christmas will be here before you know it.

With Christmas right around the corner, I am taking this time to share some of my
favorite things from some of my favorite places.  Today it will be from DaySpring.
It is the perfect opportunity to get those little gifts for loved ones and also for yourself.
Black Friday is three days away, are you ready?
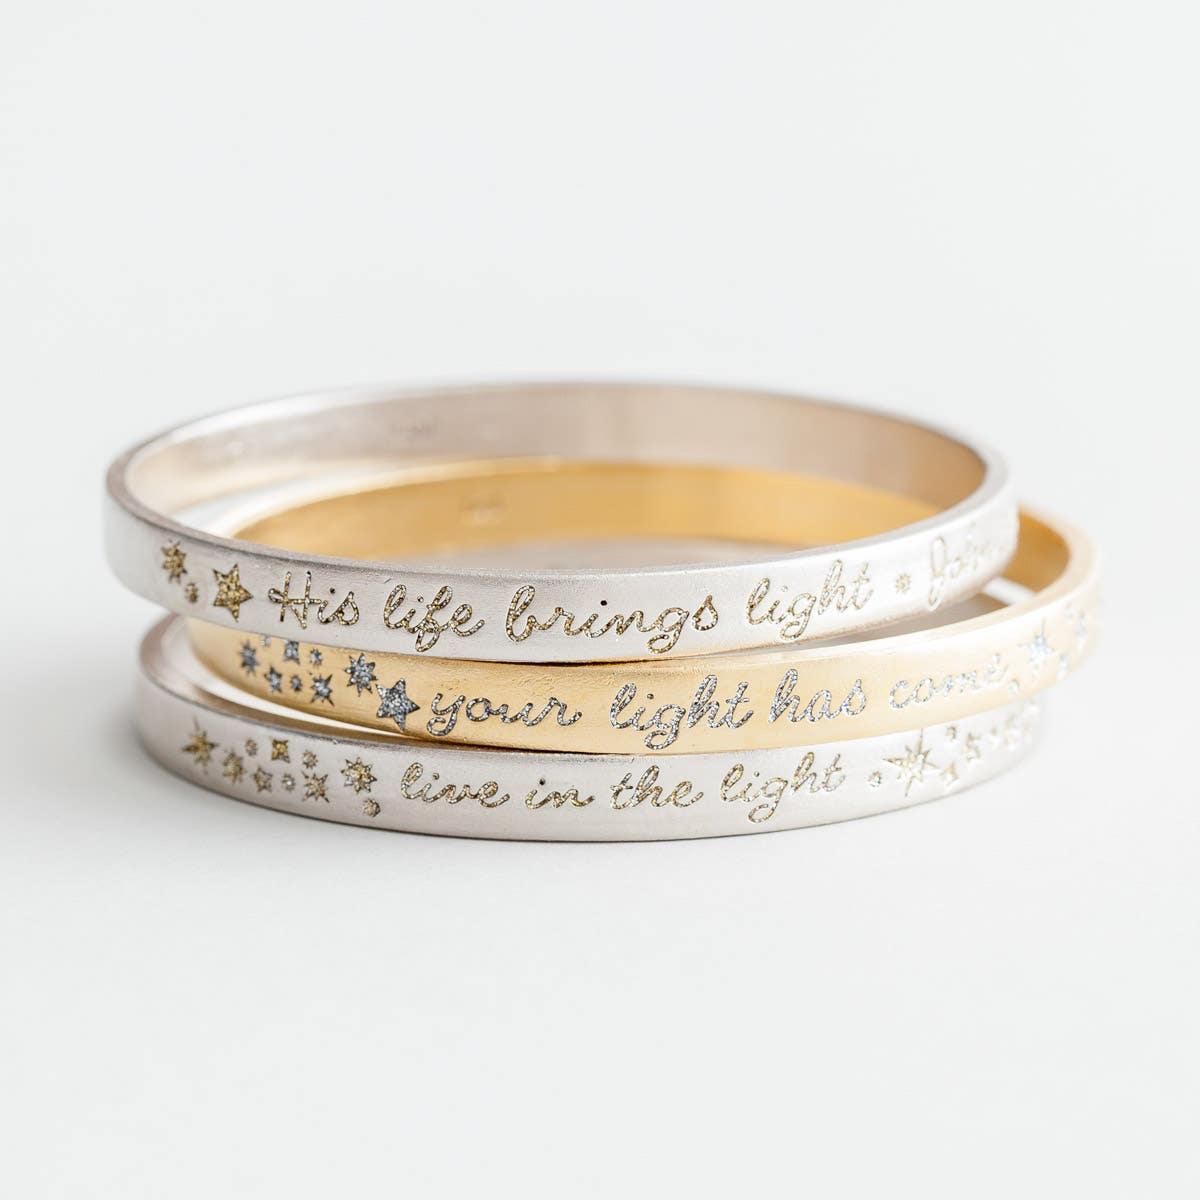
Everlasting Light - Bangles, Set of 3
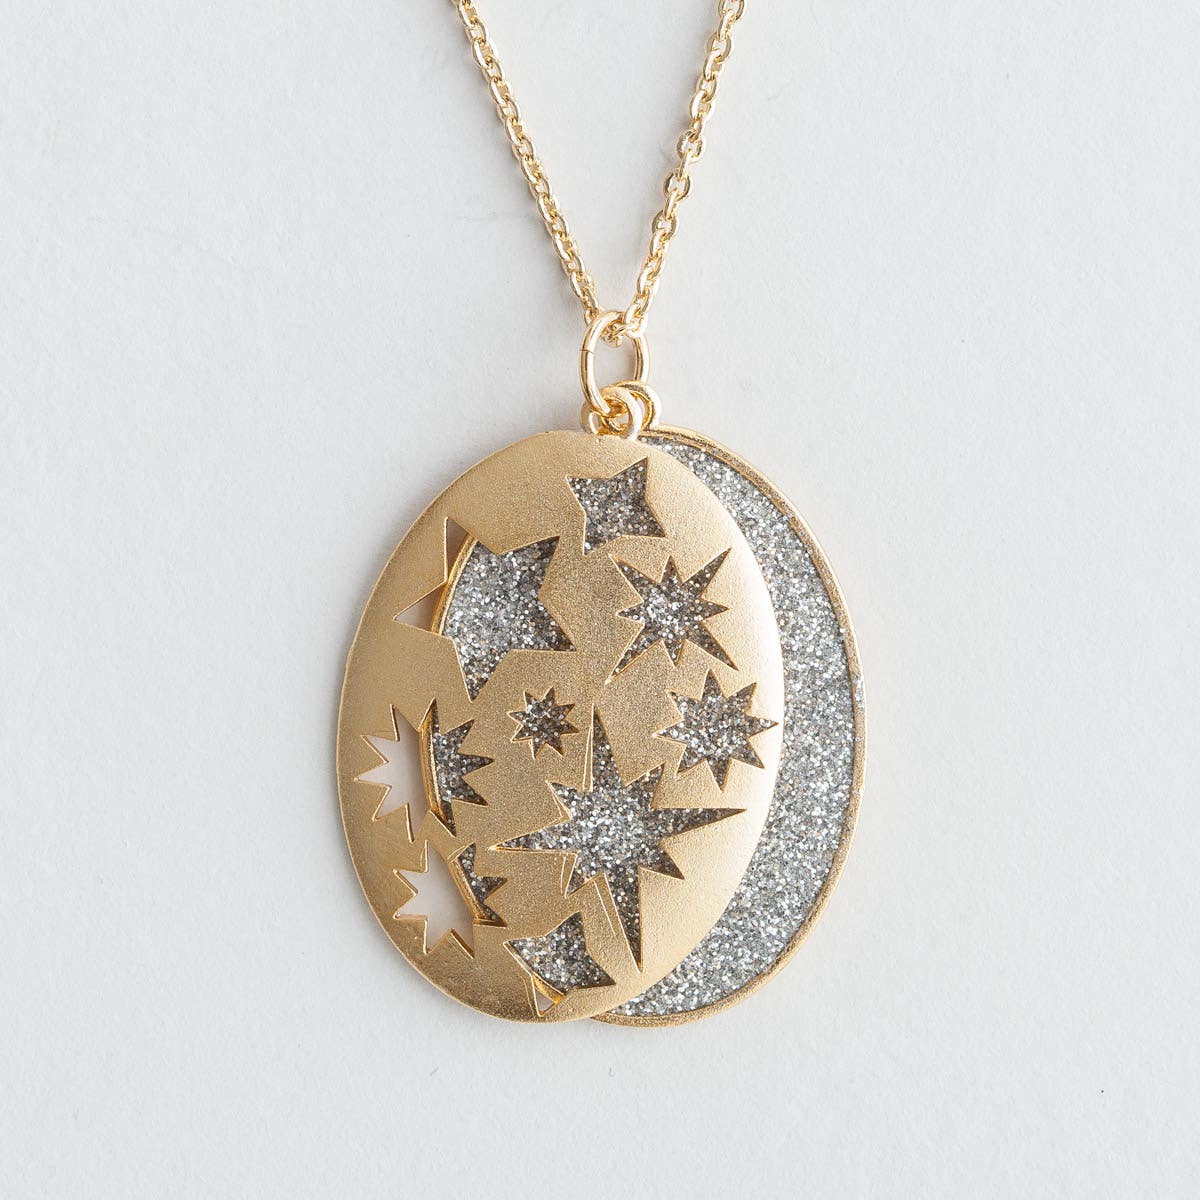
This is a beautiful and simple bangle set great for gift giving and below a lovely necklace
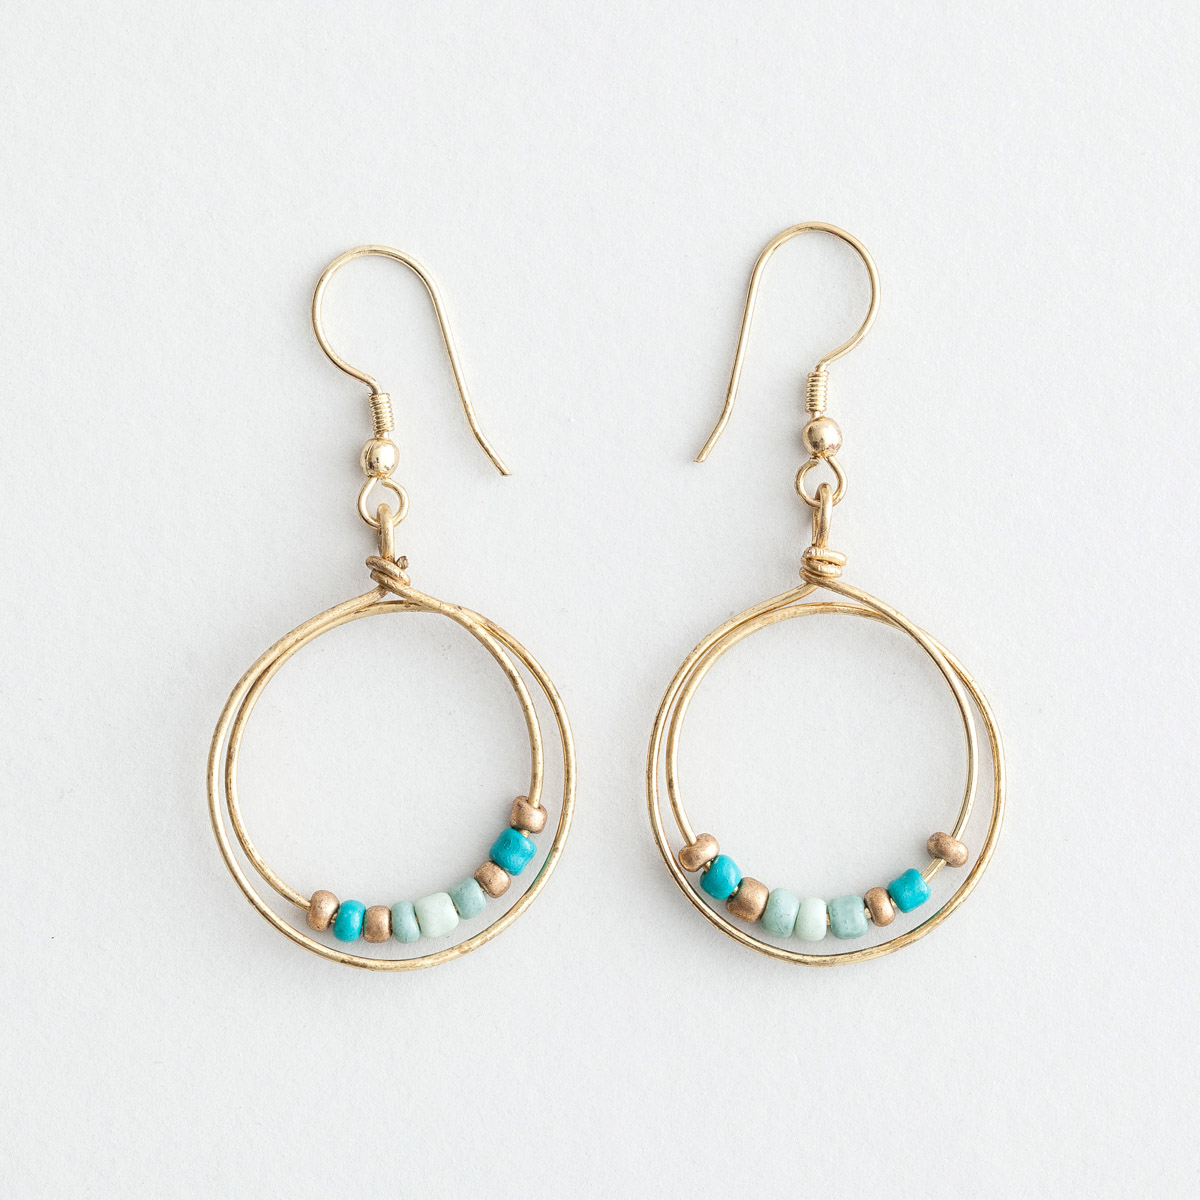
with shimmer and stars. The earrings are lovely for a dear friend or sister this season.

Everlasting Light - Layered Shimmer Necklace

Village Artisan - Friendship Earrings, Blue
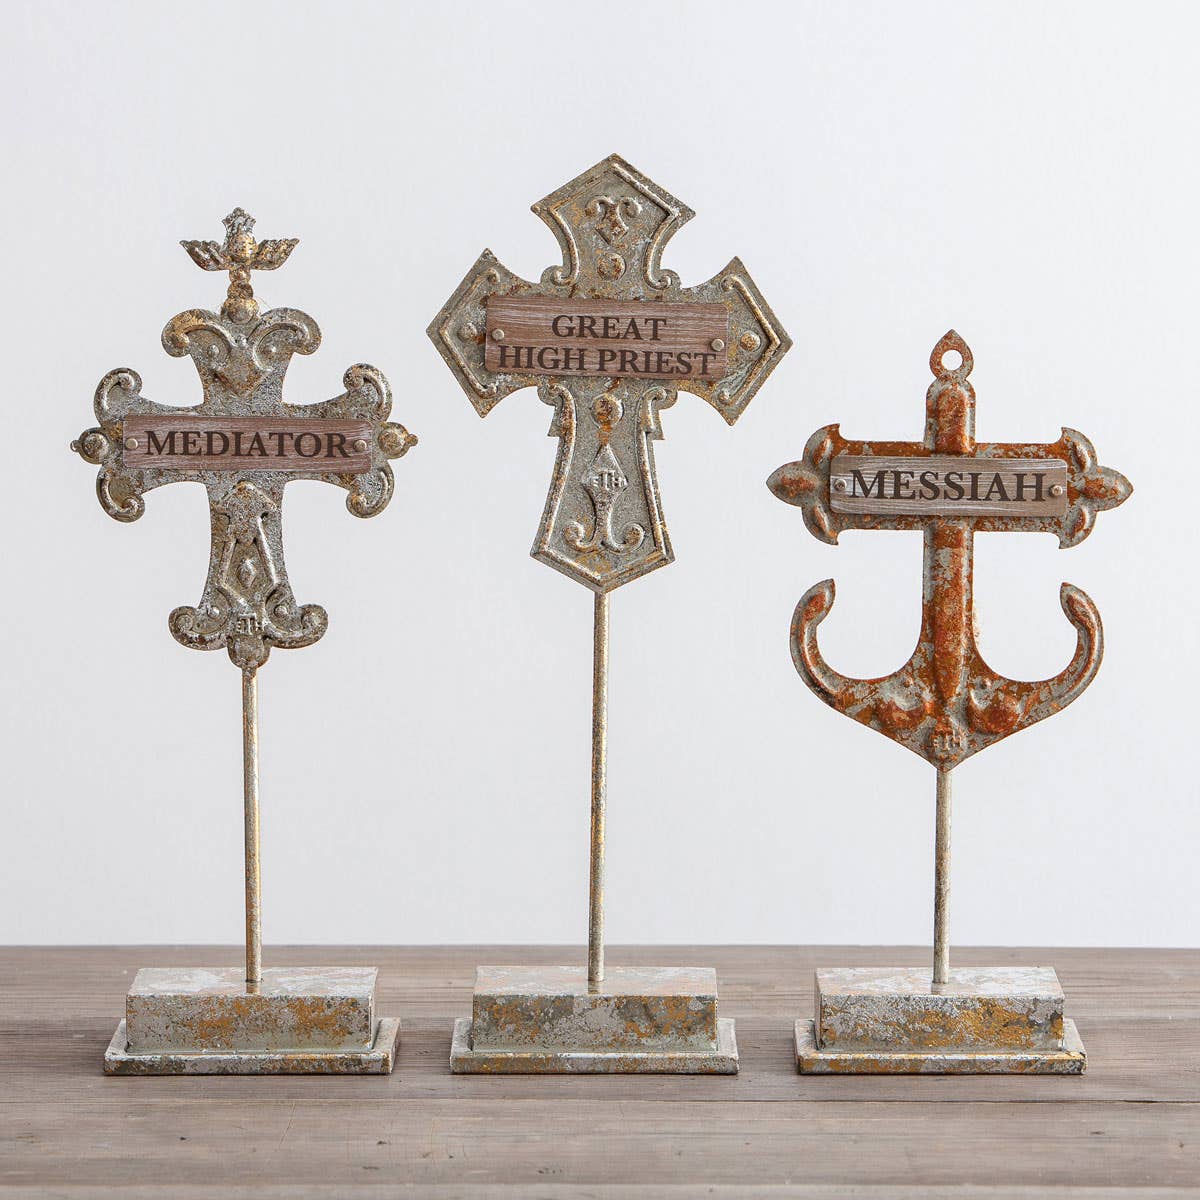
Get your decor on with these lovely pieces.
His Savior Names - Easter Adorenaments Set

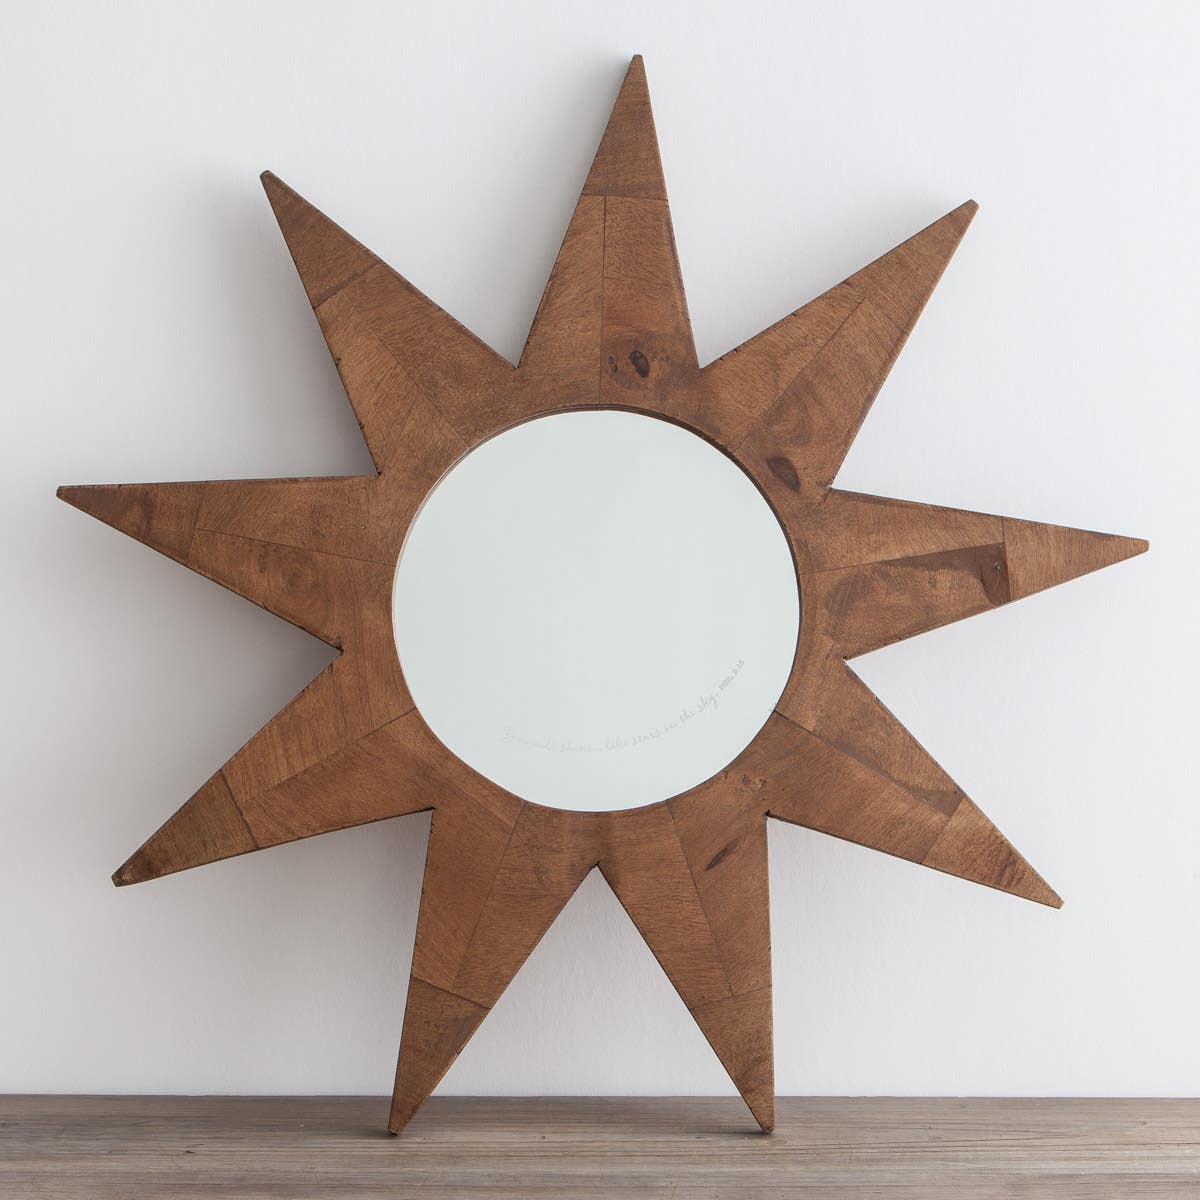
Everlasting Light - Starburst Mirror

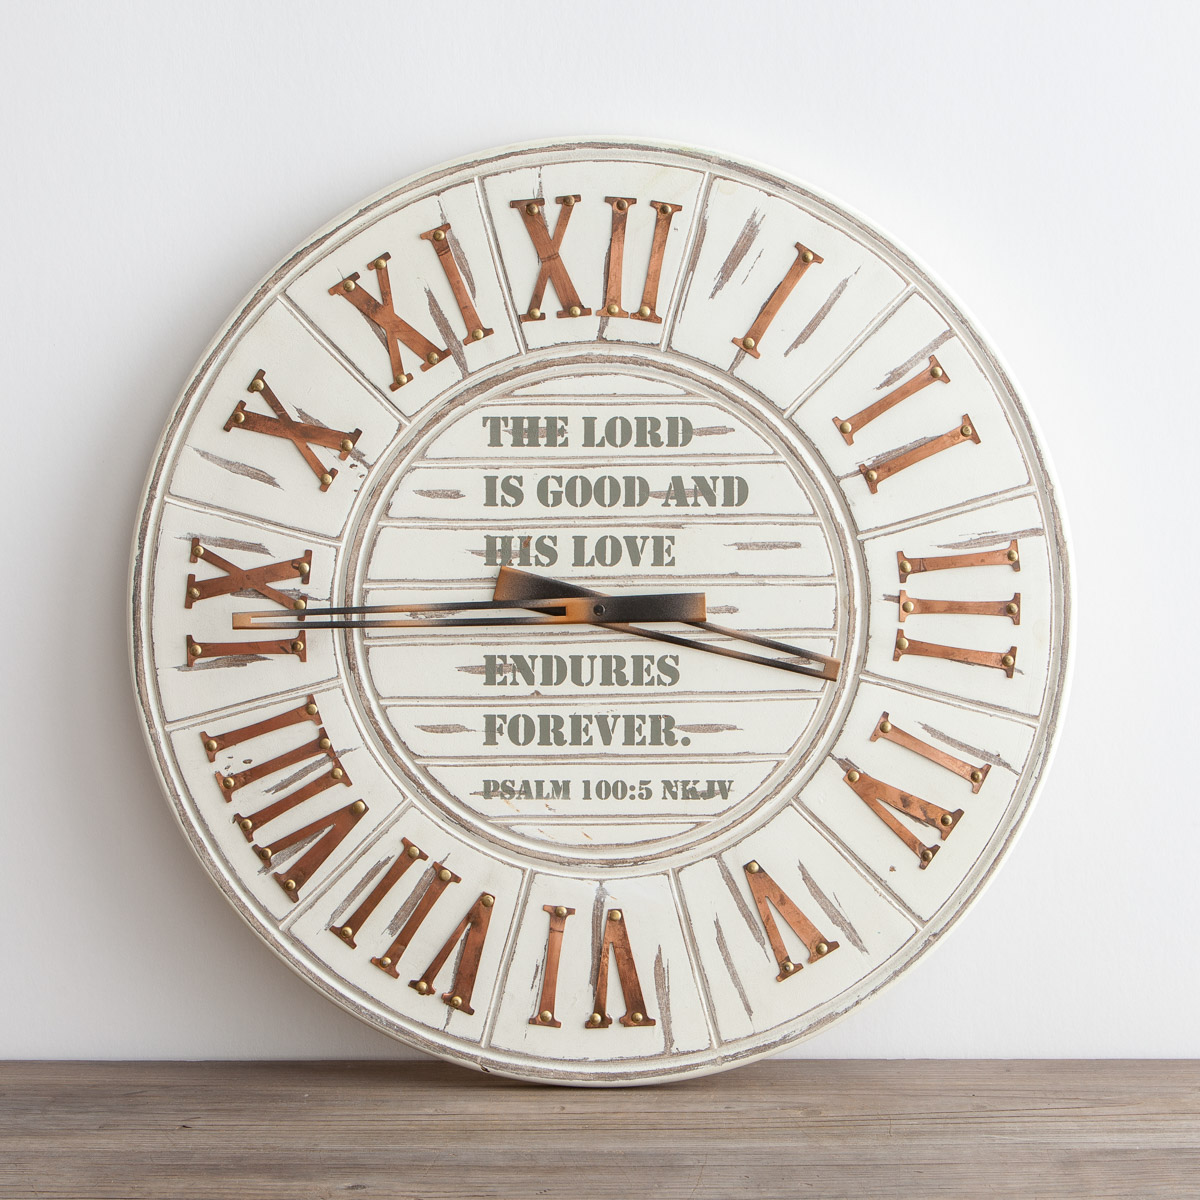
His Love Endures Forever - Wall Clock

The clock above is made of distressed wood & contains distinct copper numerals.  I love the
weathered and rustic feel.  I absolutely love this clock, it is simple and clean, perfect
for placing on the mantel.

I hope that you enjoyed looking at these simple pieces fro DaySpring.  Do you have any
favorites to share?


Breast Cancer Awareness Month with Tree Classics

www.inspirationsbyd.blogspot.com
*Disclosure:Tree Classics Sponsored the items on this post for the Breast Cancer 
Awareness Campaign.  All views and opinions expressed 
are my honest 100% opinion.

October is Breast Cancer Awareness month.  Inspirations by D has partnered with
Tree Classics to increase the awareness of Breast Cancer and to inspire hope
to the many women affected by the disease through early detection.  
This month we share with others the importance of an examination.

One of the ways that I am encouraging and inspiring others is by 
putting up a Breast Cancer Awareness Tree.  You read correctly, a Breast Cancer 
Awareness Tree!  I find that it is a good way of bringing the attention of anyone entering 
my home, passing by my window or who reads my blog to become aware that it 
is important to get examined, including myself and also for those affected by this 
disease.  

I thought about the women that I know who have been affected by Breast Cancer;
I thought about mothers, daughters, grandmothers, sisters, neighbors, friends, and their 
families. This is something that needs to be taken care of immediately.  It is a serious disease
and we must act now and get checked. Early detection is a sure way to fight the disease.


www.inspirationsbyd.blogspot.com

This is a campaign to raise awareness and it is certainly for a good cause to decorate a tree in pink.
  It's also in remembrance of those who have fought hard, those who have beaten 
cancer and for those who have left us.
Every time I look at the tree, I am reminded that I must take the steps necessary 
to share the awareness with others. 

There are many other ways that we may show our support; we may wear pink!  
Wearing pink is a straightforward, and powerful action everyone can do, even if it's just 
wearing a small pink ribbon.  You may also participate in a fund-raiser in your area by helping 
an organization, or you may even create an awareness event, such as a benefit 
concert, bake sales, and sell raffles just to name a few.  If you have no time for any of 
the ones mentioned, you may also consider donating to support breast cancer research.  
Two very good organizations to give are The Breast Cancer Prevention Institute and 
National Breast Cancer Foundation. Most importantly, get yourself 
checked, I cannot stress this enough.

www.inspirationsbyd.blogspot.com
About My Tree

The tree I received to run the Breast Cancer Awareness Campaign is from "Tree Classics," the finest artificial Christmas tree company
around.  I want to take this moment to thank them for partnering with me on this cause.

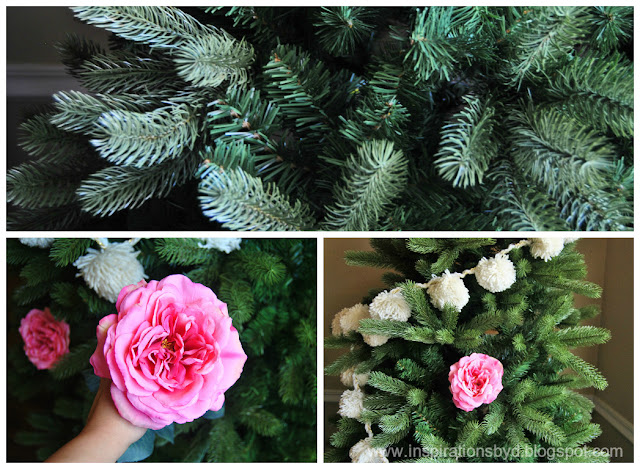
My tree is a Classic Noble Fir with lush foliage with two 
shades of green that exudes the crisp ambiance of a wintry evergreen forest. 
It was easy to assemble because it comes in three parts, the base, the middle and the top.
Then all I had to do was fluff it around, simple as that.

 I chose an unlit tree (it's my preference) but they do have trees with different 
light types available.  Another thing I love about this tree that I cannot get from a 
live tree (don't get me wrong, love real trees) is that the branches are bendable 
making it perfect for garlands!  The flexibility of the branches helps when 
trimming the tree with ribbons.

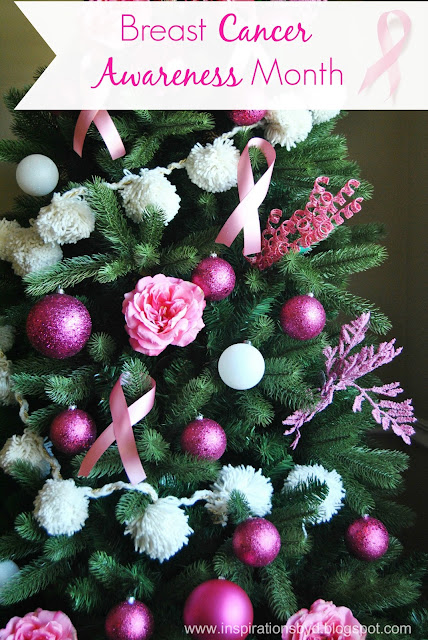
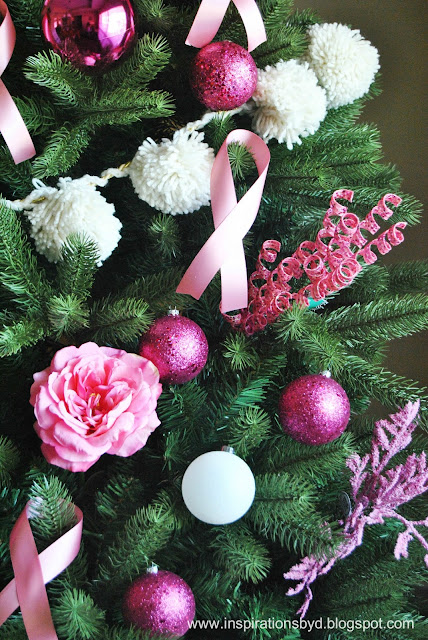
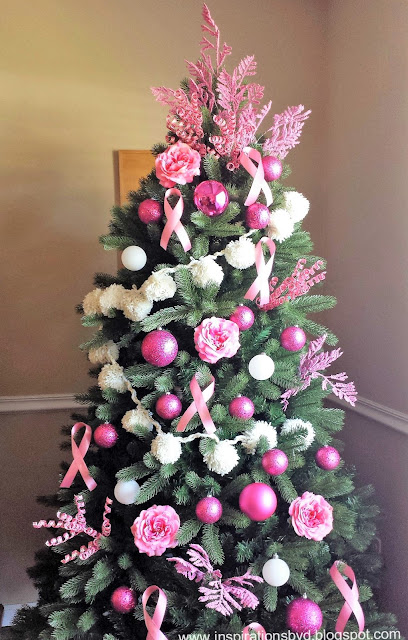
To decorate my Breast Cancer Awareness tree, I used a mix of
handmade and purchased decorations.  I began with the pom-pom garland that
I made a couple of years ago. As I mentioned before, I added a thicker string to
the garland for a more appealing look.  I then incorporated pink flowers that
I purchased from a craft store because it gives it a feminine touch and serves as a reminder
of each woman I know who has battled cancer.

I added pink floral branches and fun, curly embellishments on the top and around the tree.
Next, I added the pink glittered ball ornaments and a few white ones for contrast.
You can just take old ornaments, cover them with a thin coat of glue and dip them in glitter,
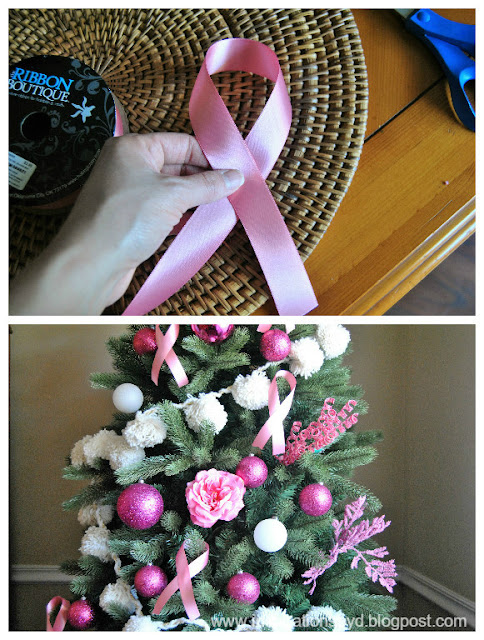
voila new ornaments!  Finally,  I added the Pink Breast Cancer Ribbons that I made
and randomly hung them on the tree.

www.inspirationsbyd.blogspot.com

Pink ribbon!
www.inspirationsbyd.blogspot.com

www.inspirationsbyd.blogspot.com

www.inspirationsbyd.blogspot.com

Thank you for visiting and I hope that you will join the campaign to bring
Breast Cancer Awareness to your area as well.  Don't forget to get examined and
spread the word about Breast Cancer Awareness.
Have you or anyone you know been affected by Breast Cancer?


DIY: Fall Book Page Wreath

www.inspirationsbyd.blogspot.com
(Disclaimer)* This post may contain affiliate links & 
I may be compensated if a purchase is made by clicking my links.
Autumn is a wonderful time to observe the outdoors, but in these parts, it still feels like
hot summer days.  I am currently missing the cool, brisk air of autumn, I am missing
the changing of the foliage and the swirling leaves as they are stirred by the wind.
Instead, I am placing simple reminders in my home to remind me of the season ahead
as I await the cool days of fall to arrive.

In the meantime, I have updated a few old handmade pieces with autumn
flare as seen the other day with the fall flower pot makeover.
Today's craft is by far the easiest, that is if you already have a paper wreath.
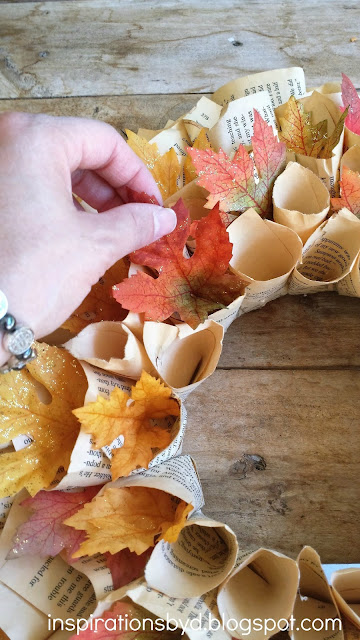
 I am sharing this old book page wreath that I made several years ago by adding faux
leaves to it.

The leaves may be purchased at any craft store or at the Dollar Tree.
Simply tuck in the leaves around the wreath and you're done.
It is that simple!  Then hang it over a door or mantel to enjoy.
I believe that you can do this with a grapevine wreath as well.
You can practically add fall leaves to anything to give it a warm, fall appearance.
Be creative!

www.inspirationsbyd.blogspot.com

www.inspirationsbyd.blogspot.com

www.inspirationsbyd.blogspot.com

Hope that you enjoy and Happy Crafting!


Fall Flower Pot

(Disclaimer)* This post may contain affiliate links & I may be compensated if a purchase is made by clicking my links.
www.inspirationsbyd.blogspot.com

Happy Fall friends and welcome to Inspirations by D.  
It has been pretty slow on the blog the last few months,
due to current updates that the site is undergoing in order to fix several broken links.
Please bear with us, you may receive old posts due to the updating and we apologize for that.
Not only are we working on fixing the problem on the blog, but we will be posting new 
posts this month, so stay tuned.

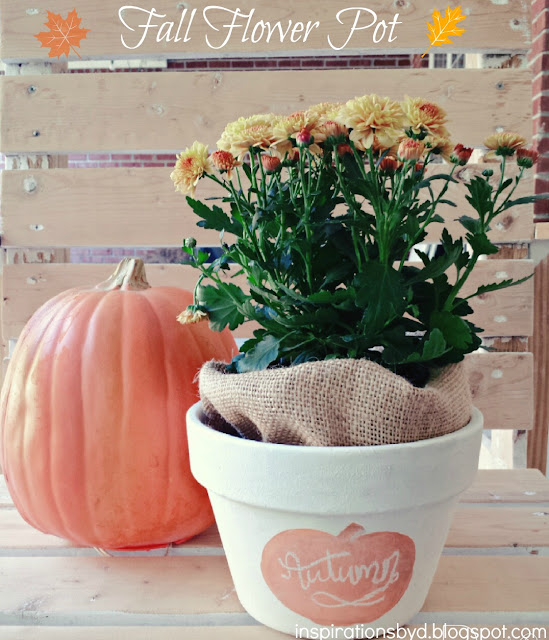
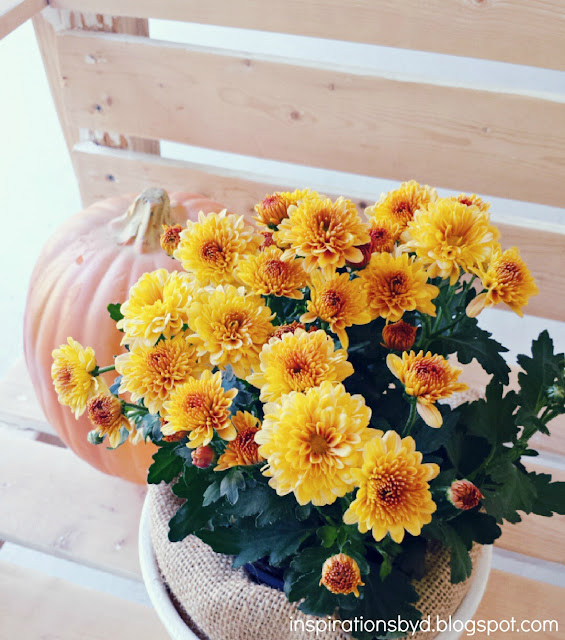
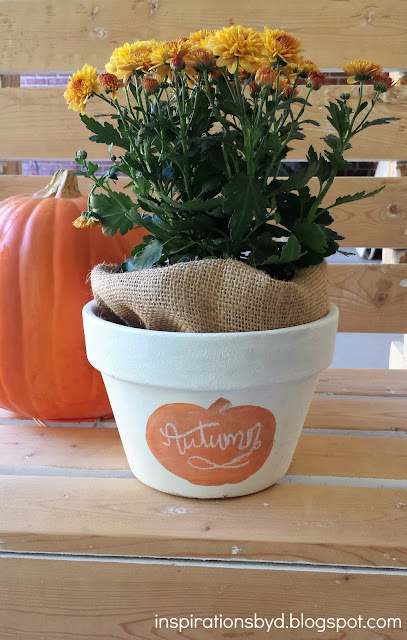
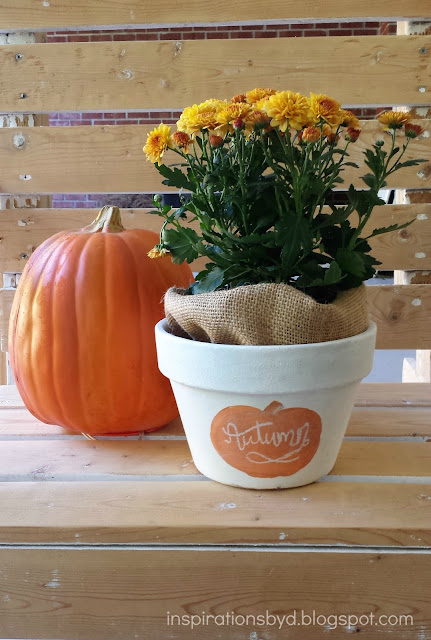
Today I am sharing a makeover to my previous Message Flower Pot to give it a Fall look.
It is easy to make and I have checked everywhere to make sure it has not been done before.
You saw it here first!!
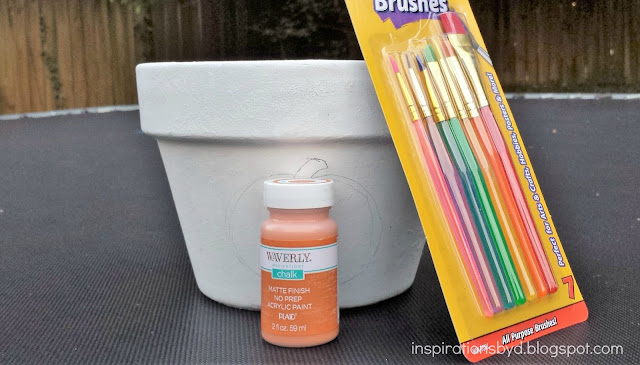
What you will need for this little project:

  • Craft Paint Brushes or Sponge Brushes
  • orange Chalkboard Craft Paint
  • flower pot
  • pumpkin or fall leaf template
  • tape
  • Scissors
  • flowers
  • White Chalk

www.inspirationsbyd.blogspot.com

1. Cut out the interior of the pumpkin/ leaf template and cut the edges to the size of your planter.
2. Tape each corner of the template on the flower pot, make sure to use removable tape.
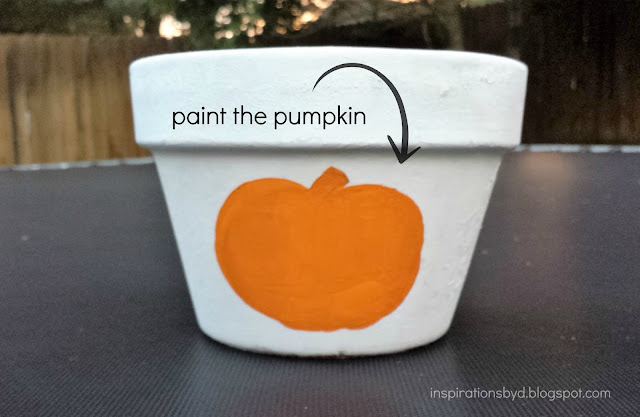
3. Take your paint brush & Paint, now paint the interior of the pumpkin so it comes out on 
OPTION: You may also draw the pumpkin on the flower pot as seen above, 
you may use carbon paper to trace the pumpkin over the flower pot, then paint the pumpkin.
4. Let the chalkboard paint dry.
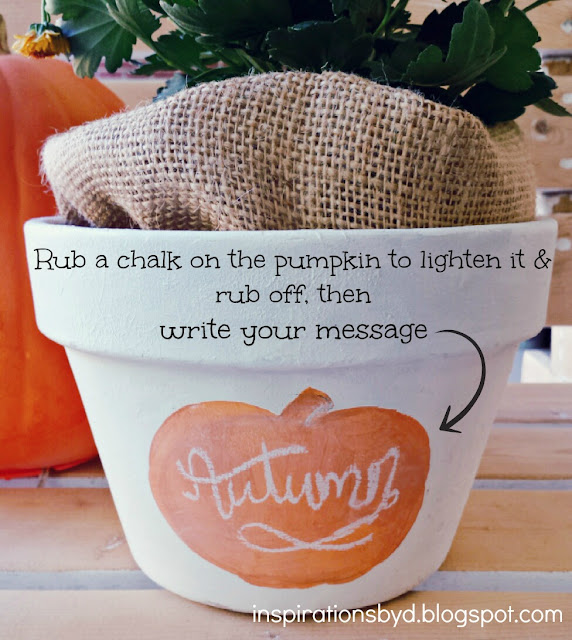
5. When the paint is dry, rub the painted pumpkin with a white chalk, then rub it off, this gives it a faint appearance.
6. Now you are set to write your message.
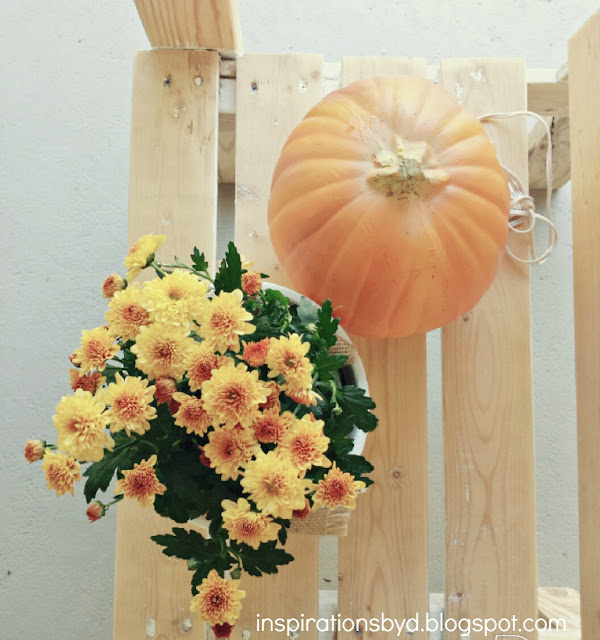
7. Put fall flowers in your pot and if you like, you may add burlap to give it a Fall feel.

www.inspirationsbyd.blogspot.com

www.inspirationsbyd.blogspot.com
Add pretty flowers!
www.inspirationsbyd.blogspot.com

www.inspirationsbyd.blogspot.com

www.inspirationsbyd.blogspot.com

www.inspirationsbyd.blogspot.com
Thank you for visiting and Happy Crafting!
For more DIY/craft ideas visit the project tab on the top.


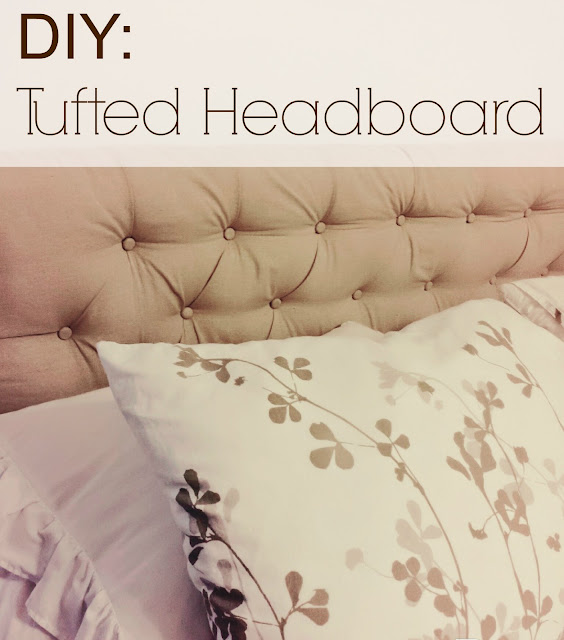
DIY: Tufted Headboard

(Disclaimer)* This post may contain affiliate links & I may be compensated if a purchase is
 made by clicking my links. 
www.inspirationsbyd.blogspot.com

I have finally finished one of my DIY projects, and this one had been sitting
around my bedroom for months if not, dare I say, a year.  I am not going to
post detailed instructions because I got my directions from here.
Be sure to visit the site for detailed instructions, her headboard is gorgeous!

I have posted the basics on how I made my own.
I have to say that I did not drill holes on the headboard, nor did I sew my
fabric covered buttons on.  That is too much work, so I stapled each section 
and hot glued the buttons on.
It worked!!

I also did not really measure but eyeballed where I was going to staple each 
section. I know, I know, not smart, but even though it's not perfect, it's done and 
it's mine to enjoy.

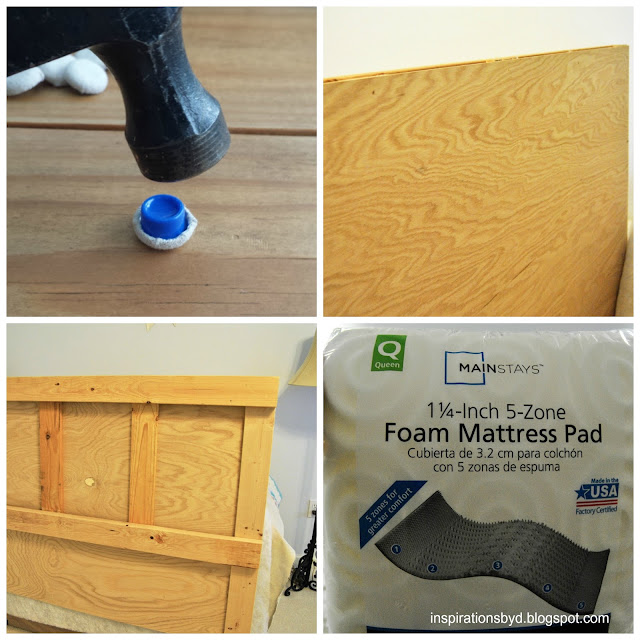
I already had a headboard made of wood scrap from our garage, so we 
purchased a flat piece of wood to cover the front of the board.

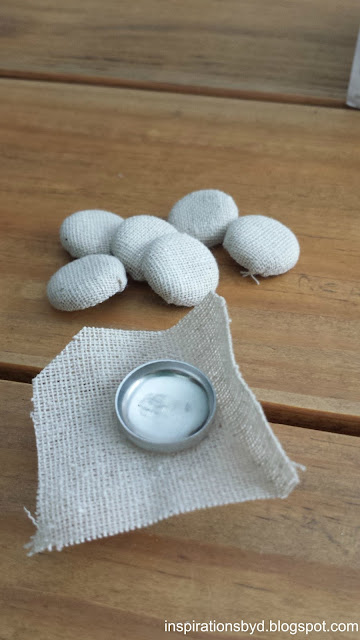
I purchased two packs of the Dritz Craft Cover Button Kit - Size 30
it completely depends on the size of your headboard, you may need three.

I already had my fabric on hand, it was about 3 to 4 yards.  I have a 
queen size bed.

I purchased a Mainstays 1.25" Convoluted Foam Topper Size: Queen which I 
folded in half for the cushion.  You may most certainly get a 
Mainstays 1.25" Convoluted Foam Topper Twin Size Mattress Pad Bed (TWIN) for less.  
Psst!  Walmart carries this foam.

I also used matting that I had on hand.

I used a Mini Hot Glue Gun with Melt Glue Sticks
already had one on hand a Staple Gun Kit.

Then I went to work.  I covered about 30 buttons for this headboard. 
The kit explains how to cover them with fabric.

www.inspirationsbyd.blogspot.com
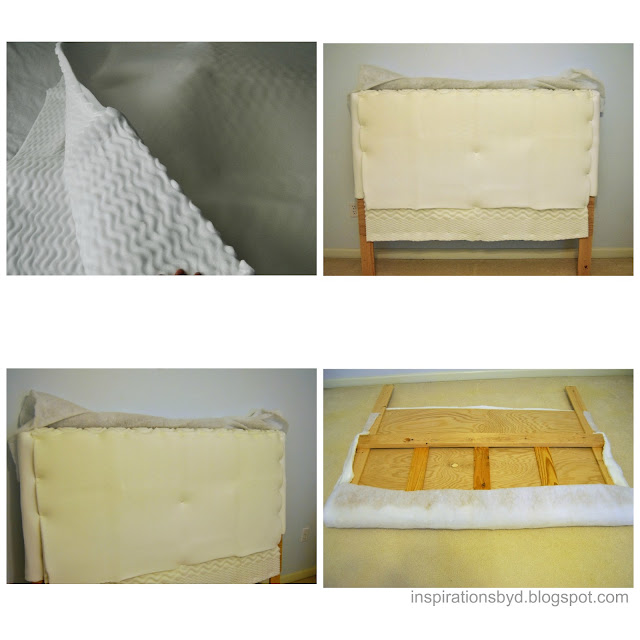
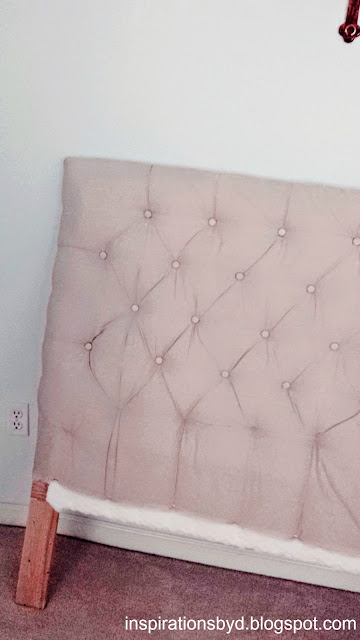
I opened the foam package and folded the foam over the headboard.  I noticed that the edges/ 
sides were left exposed.  So, I cut a piece of the foam to cover each side as seen in the images. 
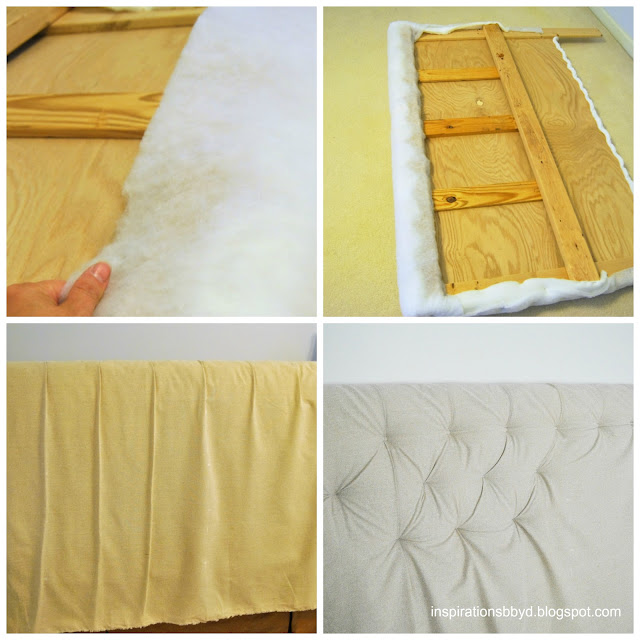
 I stapled the foam onto the headboard as seen above.  Then I covered that with batting and 
stapled it in place.

I then placed the fabric over the batting.  I just draped it over & made sure it covered 
all the sides well.  

Before I secured the fabric, I measured how far apart I wanted my buttons to be; below 
you will see that I folded seams to have an idea how far apart they should be
and I marked it with a white pencil.

www.inspirationsbyd.blogspot.com
When I was ready to secure the fabric at the top, I stapled it in the back to hold it in place.  
After the fabric was secured at the top, I began to staple the areas that the buttons would 
go on the first row.  In the areas that needed adjustments, I simply removed the staples 
with a staple remover and re-stapled my mark.  I continued stapling the 4 rows and finally 
the edges on the sides and bottom to hold the fabric in place.

When it was all secured and stapled in place, I added the buttons with hot glue, pressed 
it hard and held in place for about 15 seconds.  Then it was done, just like that.  I think 
the hardest part was making sure the rows were straight and the same distance apart. 

www.inspirationsbyd.blogspot.com
There you have it, my tufted headboard. 
Thank you for visiting and Happy Crafting!


Pin It button on image hover